SYNC POS
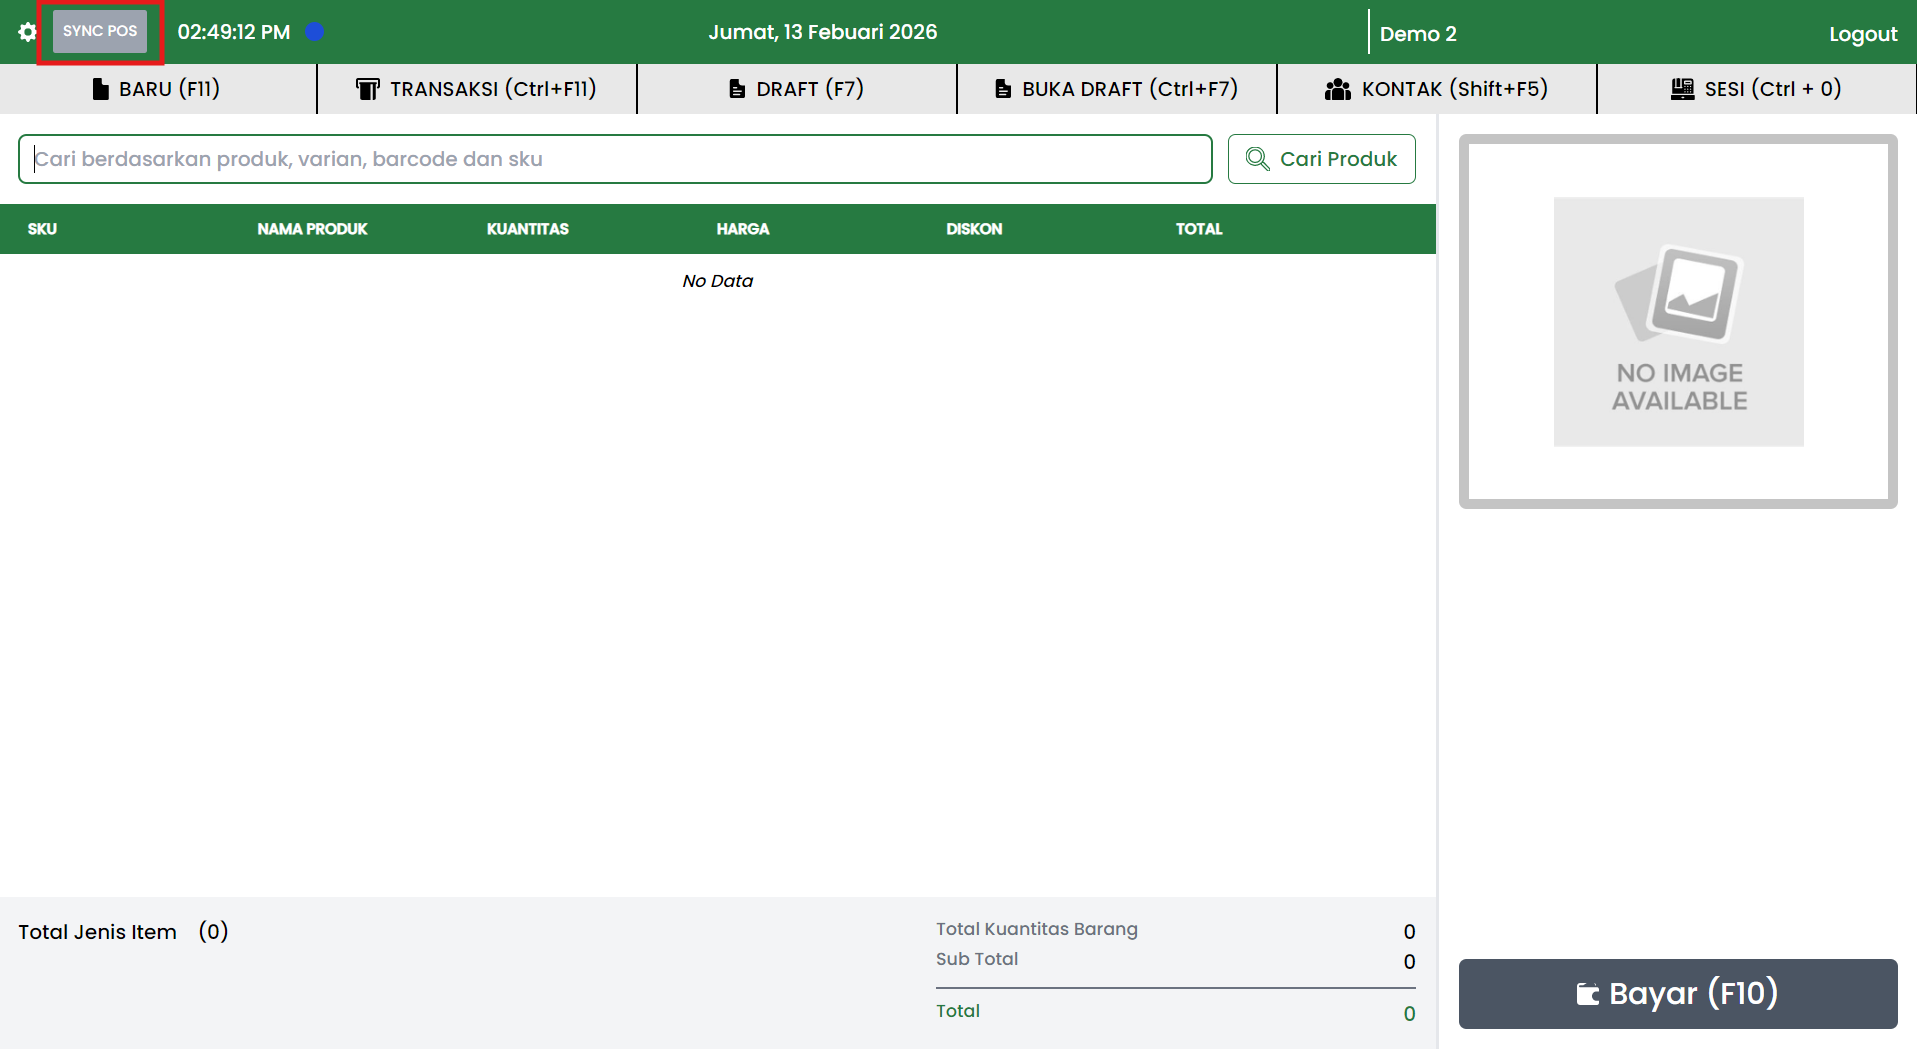
SYNC POS is a synchronization feature in the Jova POS application for aligning data between the POS (cashier device) and the server. Synchronization ensures that the data used by the cashier is always up to date and that transaction data is properly saved in the central system.
Purpose of SYNC POS
SYNC POS is used to:
- Ensure master data (products, prices, promos, etc.) on the POS matches the data on the server.
- Send transaction data from the POS to the server so central reports are accurate.
- Restore data consistency after the POS has been offline or had an unstable connection.
- Reduce the risk of data discrepancies that can cause pricing, stock, or reporting errors.
What Gets Synchronized
Types of data typically related to synchronization:
1. Master Data (Server → POS)
- Products and variants
- Barcodes and SKUs
- Selling prices
- Discounts and promos
- Vouchers
- Taxes and service fees (if applicable)
- Payment methods
- Customer and member data (if the system allows two-way synchronization)
- Store settings and POS parameters
2. Operational Data (POS → Server)
- Completed sales transactions (paid/finished)
- Drafts (if drafts are saved to the server according to configuration)
- Transaction cancellations (void) and status changes (if any)
- Activity logs needed for auditing (depending on configuration)
Note: the exact list follows the application configuration and implementation policy. However, the main concept remains the same: pull the latest data from the server and send cashier activity to the server.
When to Run SYNC POS
Operational recommendations:
- Before starting a shift
To ensure the latest products and prices have been downloaded to the POS. - After changes from admin (prices, new products, promos, vouchers)
So the cashier can immediately use the correct data. - After the POS was offline or had an intermittent internet connection
To send pending transactions and align data. - Near the end of shift / store closing
To ensure all transactions have been sent to the server and reports are secure.
How to Run SYNC POS
- Make sure the POS device is connected to a stable internet connection.
- Click the SYNC POS button at the top left of the application.
- Wait for the synchronization process to complete.
- Make sure the application displays a success notification (if available).
- Continue with transactions as usual.
Indicators of Successful SYNC
SYNC POS is considered successful if:
- Products and prices display the latest changes from the admin.
- Newly created transactions appear in the central report (back office).
- There are no pending statuses on transactions that should have been sent.
Common Issues and Solutions
1. SYNC is slow or feels sluggish
Common causes:
- Unstable internet connection
- Large amount of data being pulled (many products/variants)
- Server is busy
Actions:
- Make sure the connection is stable, retry SYNC after a few minutes.
- Run SYNC during quiet hours (e.g., before the store opens).
2. Prices or products haven't changed after SYNC
Common causes:
- Changes in admin haven't been saved or published
- POS hasn't actually completed SYNC
- Application cache hasn't been refreshed
Actions:
- Make sure the changes in admin are actually active.
- Run SYNC again, then check the related product.
3. Transactions don't appear in the back office
Common causes:
- Transactions haven't been sent due to offline status
- There is a queue of transaction deliveries
Actions:
- Run SYNC POS and make sure the internet is stable.
- Check if the transaction is in draft status or hasn't been sent (according to system mechanism).
Important Notes
- Run SYNC POS when the cashier isn't in a busy queue if possible.
- Avoid closing the application while SYNC is in progress.
- SYNC POS helps maintain price, promo, and report accuracy, but operational control (checking prices and items before payment) is still necessary.